
I’ve long thought about posting my recipe for truffles, but it’s difficult to get pictures with chocolate-covered hands… and I wasn’t really so consistent with measuring and such. But I made an effort this time while making test-batches for the chocolate party. So here we go.
First I make ganache—truffle filling. Depending on how hard it is, you can cover the ganache in coating chocolate or not. I make a variety of different fillings, but let’s start with the easiest.
Classic Chocolate ganache
Ingredients:
- 120-150ml (1/2-2/3 cup) whipping cream (More cream makes a softer ganache; less cream makes a ganache that is easier to work with.)
- 120g (4 oz) bittersweet chocolate chips (or other chocolate of your choice, broken into small chunks.)
- 1 teaspoon rum (optional) or other liquor of your choice, for flavoring
Put a little water in the bottom of a double-boiler and bring to a simmer. Put all the ingredients in the top of the double-boiler. (Or, if you are like me and you don’t have a double-boiler, a heat-proof bowl set over a small saucepan of simmering water will work just fine.) Do not stir; put on the lid and let all the ingredients warm up together for a few minutes. After the chocolate starts to look glossy, mix the chocolate and cream together until smooth. Transfer to a container and chill at least 5 hours or overnight.
 |
| Measuring the ingredients. The cream has had green tea steeping in it for the green tea variation below. |
 |
| Assembling the ingredients in the top of my makeshift "double-boiler." |
 |
| This is the caramel version. |
 |
| It takes a while for the chocolate to melt. So we waited. |
 |
| Chocolate is nice and melty; time to stir. |

 |
| Nice and smooth; ganache is finished! |
Classic Chocolate variation: Chocolate Nut ganache
Ingredients:
- 120-150ml (1/2-2/3 cup) whipping cream
- 120g (4 oz) bittersweet chocolate chips (or other chocolate of your choice, broken into small chunks.)
- 50-80g (1.75-2.75 oz) finely chopped nuts of your choice—my suggestions would be almonds, pecans, walnuts, or hazelnuts.
- 1 teaspoon rum (optional) or other liquor of your choice, for flavoring
Follow the directions for Classic Chocolate ganache.
Classic Chocolate variation: Green Tea ganache
Ingredients:
- 150ml (2/3 cup) whipping cream
- 2 teaspoons green tea (sencha) leaves
- 120g (4 oz) bittersweet chocolate chips (or other chocolate of your choice, broken into small chunks.)
Place the whipping cream and green tea leaves in a small saucepan; bring to a simmer, then shut off the heat, cover, and let steep for at least 15 minutes. Pour the cream through a fine mesh strainer; press the tea leaves with the back of a spoon to squeeze out as much liquid as possible from the tea leaves.
Continue with the directions for “classic chocolate ganache.”
The previous 3 varieties of ganache are easy to make and easy to work with. They don’t necessarily need coating. Let’s move on to a more challenging ganache: caramel!
Caramel Ganache
Ingredients:
- 100ml whipping cream (That’s approximately ¼ cup plus 3 tablespoons? Seriously… can’t we use the metric system already?)
- 130g (4.5 oz) bittersweet chocolate chips (or other chocolate of your choice, but I would recommend dark chocolate for this recipe, broken into small chunks.)
- 120ml (½ cup) caramel sauce*
- ¼ teaspoon salt (optional)
- 1 teaspoon rum (optional) or other liquor of your choice, for flavoring
Follow the directions for Classic Chocolate ganache. Make sure the salt get mixed in completely; if you’re not sure whether you want salt in your caramel or not, add a little at a time.
*Although using plain caramel sauce is a good option, I like to mix things up with flavored caramel sauce. Since Hokkaido is famous for lavender, I have made lavender caramel sauce from this recipe, using lavender from our garden.
Another favorite caramel variation is my very own invention, which I call "failed mikan (mandarin orange) marmalade caramel sauce."
Shaping the Ganache
Now that we have chilled ganache, it’s time to shape it into little balls!
You will need:
- Chilled ganache of your choice
- Aluminum foil or non-stick silicon mat
- Cookie sheet or other wide, flat containers
- A teaspoon, or melon scoop, if you have one
- Cocoa powder, green tea powder (matcha), finely chopped nuts, etc. to roll finished balls (firm ganache only)
- For very soft ganache, you may want to use a piping bag with a wide tip
- Space in your freezer
Prepare your work space: line containers or cookie sheets with foil, or use a non-stick silicon mat if you have one.
Option one: using a teaspoon, scoop out a small amount of ganache, and shape it into a ball with your fingertips.
At this point, you can either put the balls in a foil-lined container and freeze them to coat with chocolate later (freeze at least 5 hours)…
OR, if you aren’t going to coat them with chocolate, roll the finished balls in your choice of topping: cocoa powder, green tea powder, or chopped nuts. Refrigerate for a few hours until firm. (And you’re done! You can ignore the rest of the recipe.)
Option two: for softer ganache, spoon the ganache into a piping bag and pipe onto a foil lined tray. Freeze for at least 5 hours. (If your ganache is soft enough for this method to work, you will definitely want to cover the ganache balls with coating chocolate.)
Note: You can make the balls as big or small as you want, but keep in mind that if you are coating them, the additional layer of chocolate makes them quite a bit bigger.
 |
| Finished ganache balls |
 |
| These are caramel ganache. They look kind of funny, since they were stickier than the plain chocolate ganache balls. |
 |
| Explaining the rolling process to the group. |
 |
| Rolling ganache balls makes for sticky fingers. |
 |
| Finished uncoated truffles, rolled in matcha, cocoa powder, or chopped nuts to finish. |
Final step: Coating Chocolate!
This step is necessary for caramel ganache, but for firmer ganache as well, this makes a nice finish. And my experience is that most people don’t bother with coating, because it’s a bit of a pain… so that makes it special! But it’s not really as hard as it looks…
…especially if you have one of these nifty coating chocolate packs that you can get in Japan. I think you might be able to get them elsewhere, too. You can melt the chocolate right in the bag (immerse in hot water for a few minutes), open it up, and use chopsticks or a toothpick to dip the ganache balls in the coating. And it hardens right away! Neat! We used them for our chocolate party—(almost) no mess.

But I’m assuming you don’t have access to one of these nifty packs. Here’s how to coat truffles with normal chocolate.
You will need:
- Frozen ganache balls
- 150g (5 oz) chocolate of your choice—anything is fine, as long as it melts. I recommend 50-70% dark. CAUTION: Some chocolate has additives to help it keep its shape—you want to avoid that, since it won’t work at all.
- 2 teaspoons unsalted butter
- Non-stick mat or foil-lined containers
- Toothpicks or chopsticks
- An ice pack or two (optional)
- Toppings: green tea powder (matcha), lavender flowers, candied fruit, chopped nuts, etc. (optional)
Using the same double-boiler method as for the ganache, melt the chocolate and butter. Don’t mix until it starts to get shiny and melty.
Remove your ganache balls from the freezer, and set the container or tray on top of an ice pack if you have one. This will help keep them cool, since warm ganache balls are much harder to dip.
Using chopsticks or a toothpick, quickly roll each ganache ball in coating chocolate. Put in foil-lined container to dry. If you’re using toothpicks, you can leave them in; this makes for easy consumption later. You may want to use chopsticks to swirl the chocolate a bit and make a pretty pattern. This also covers lumps and dents in the coating.
Before the chocolate dries completely, add toppings of your choice.
Chill the finished truffles in the refrigerator until immediately before serving.
 |
| Ready to stir. This is milk chocolate, since it's hard to find dark chocolate in Japan that is not expensive imported chocolate. |
 |
| Ready to dip! |
 |
| It wasn’t easy to take pictures left-handed while dipping melty ganache balls with chopsticks in my right hand. |
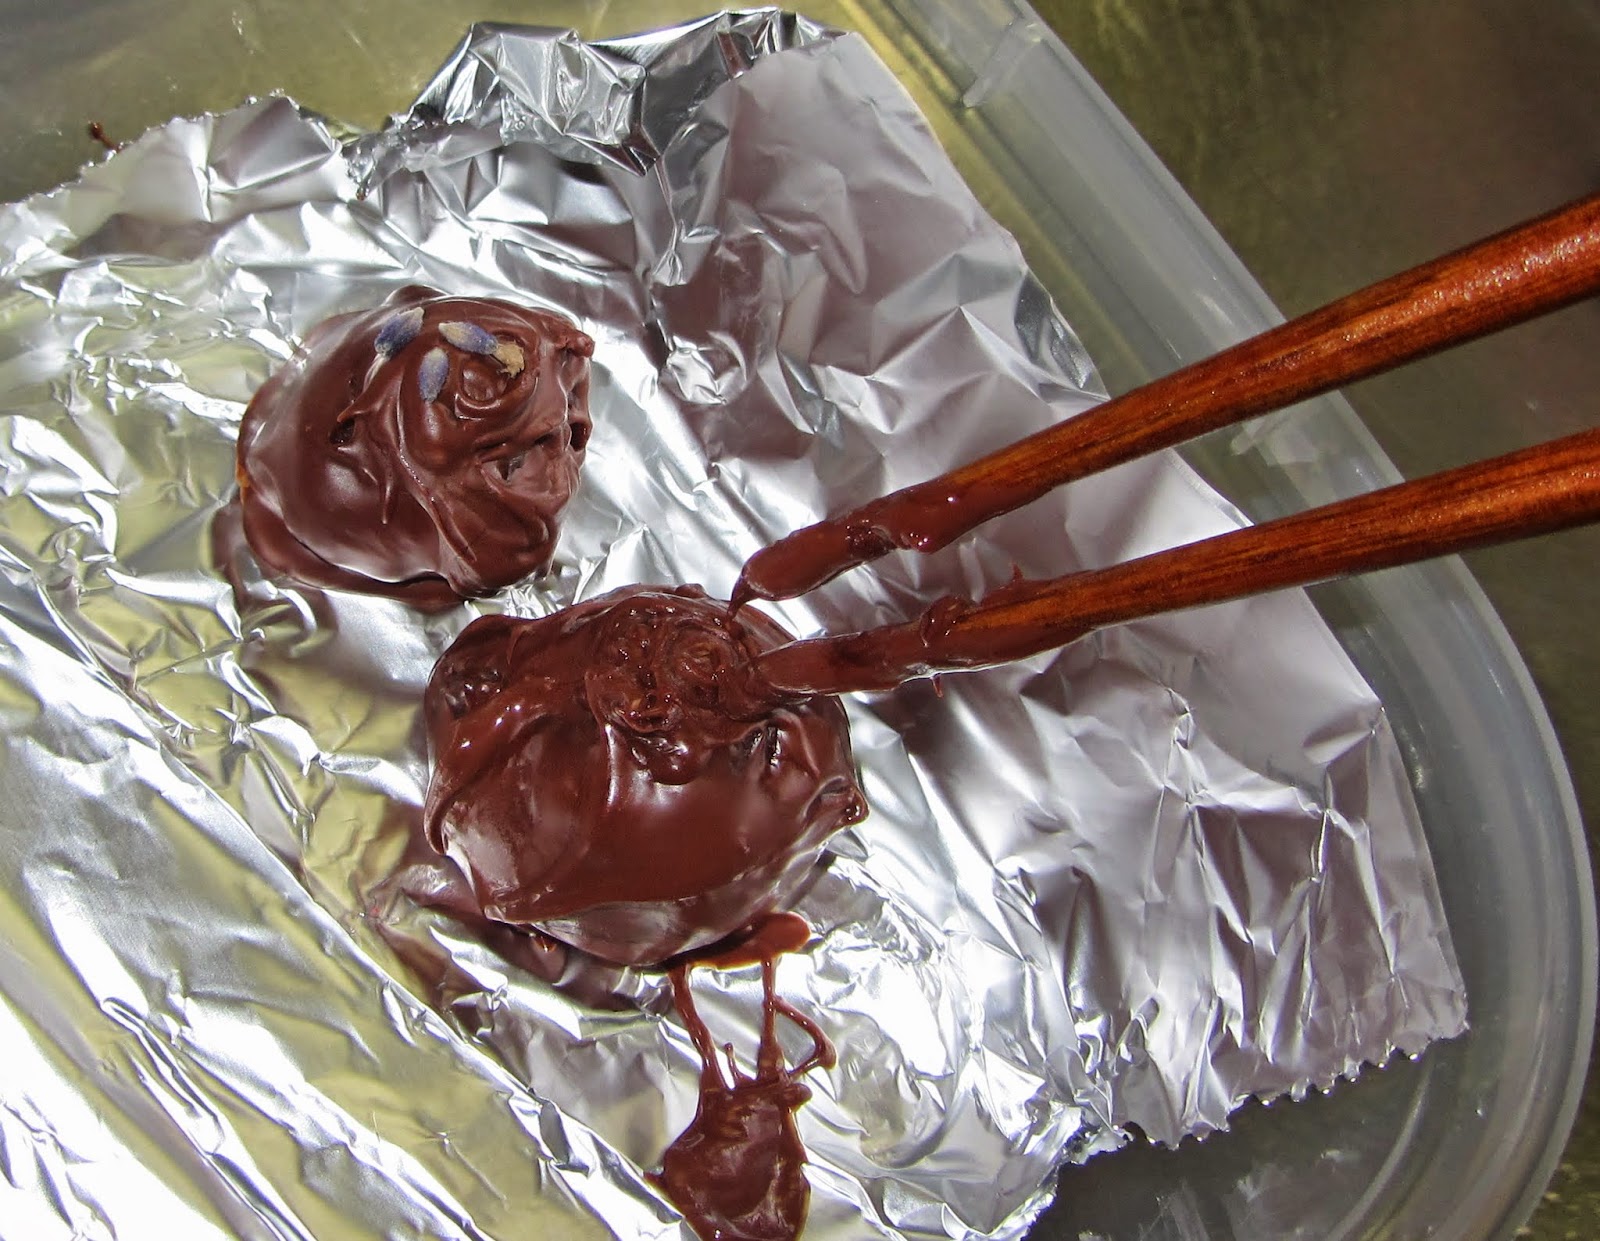 |
| I usually swirl the chocolate on top of the truffles--covers lumps and dents! |
 |
| Everyone is hard at work dipping and decorating with chocolate pens! |
 |
| Finished lavender caramel truffles |
 |
| Green tea truffles with white chocolate coating and matcha topping |
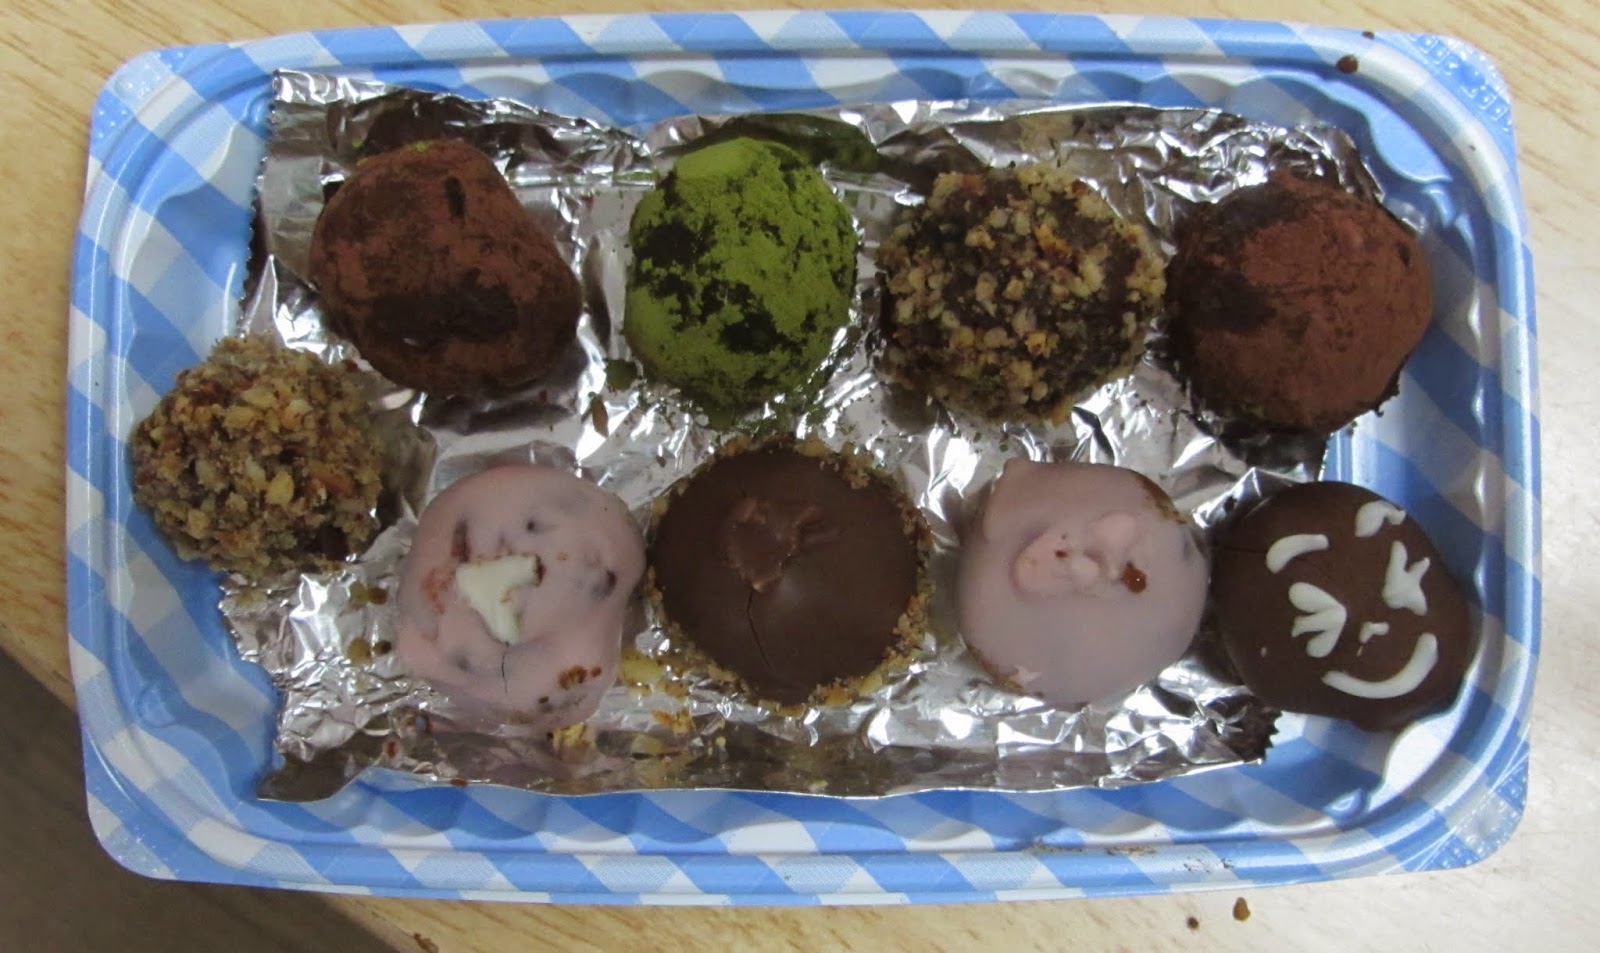 |
| A variety of finished truffles |
No comments:
Post a Comment